Posts

HDR Photography – Joshua Tree

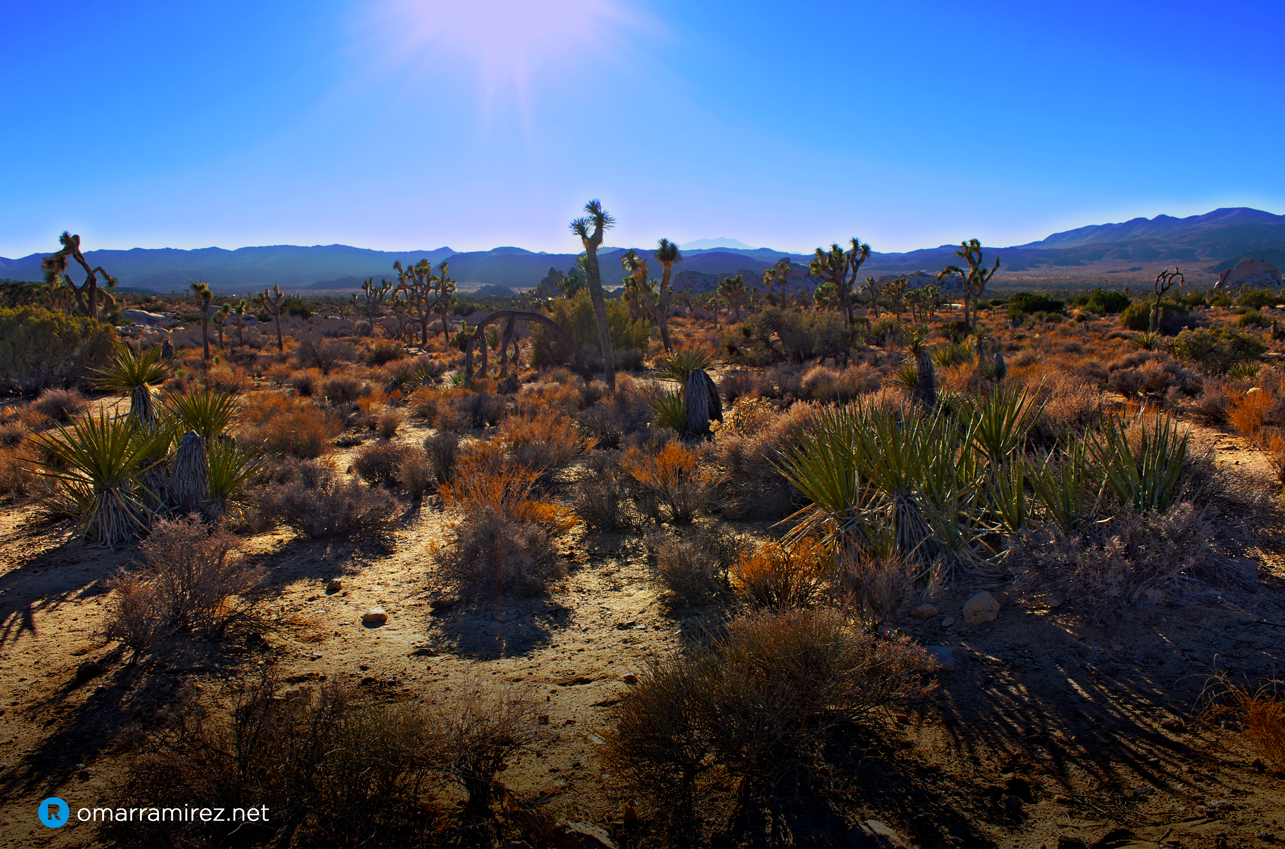
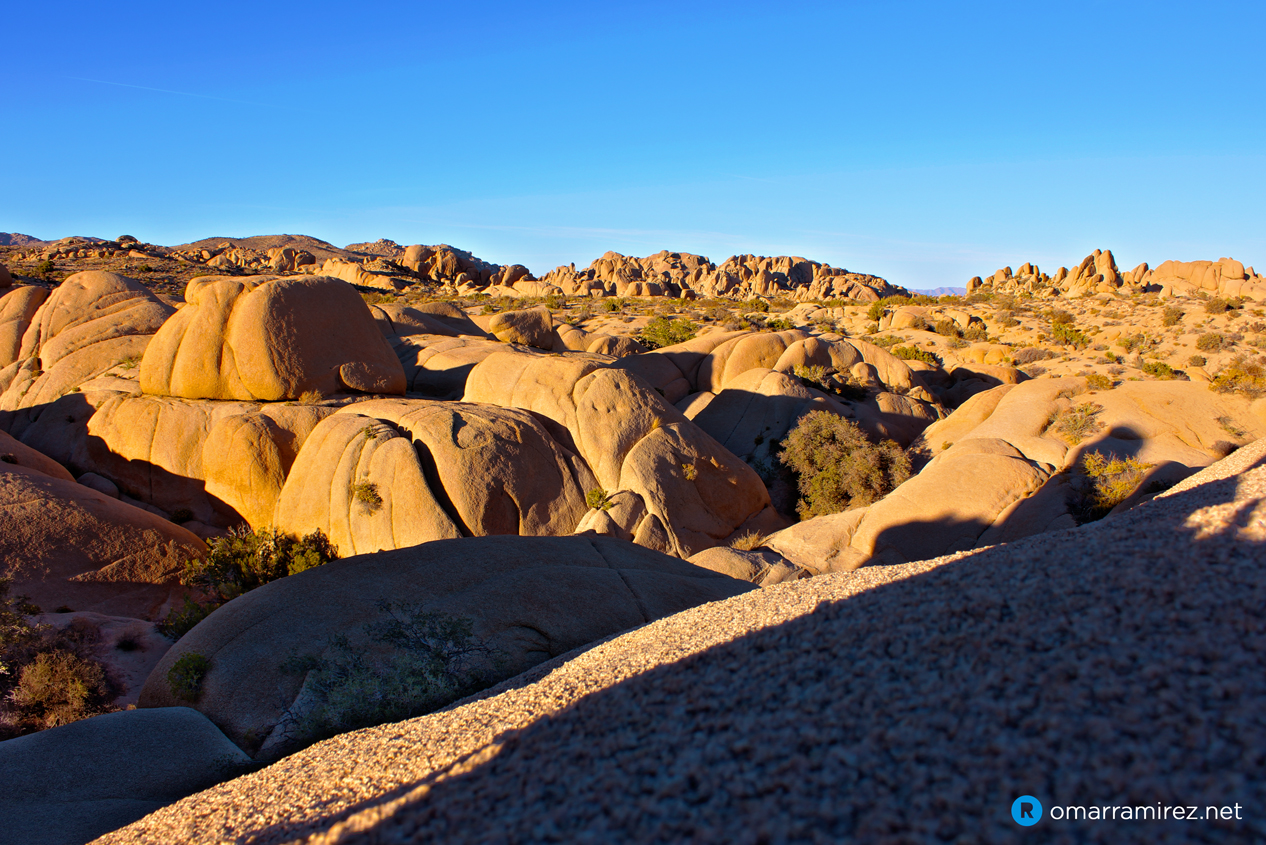
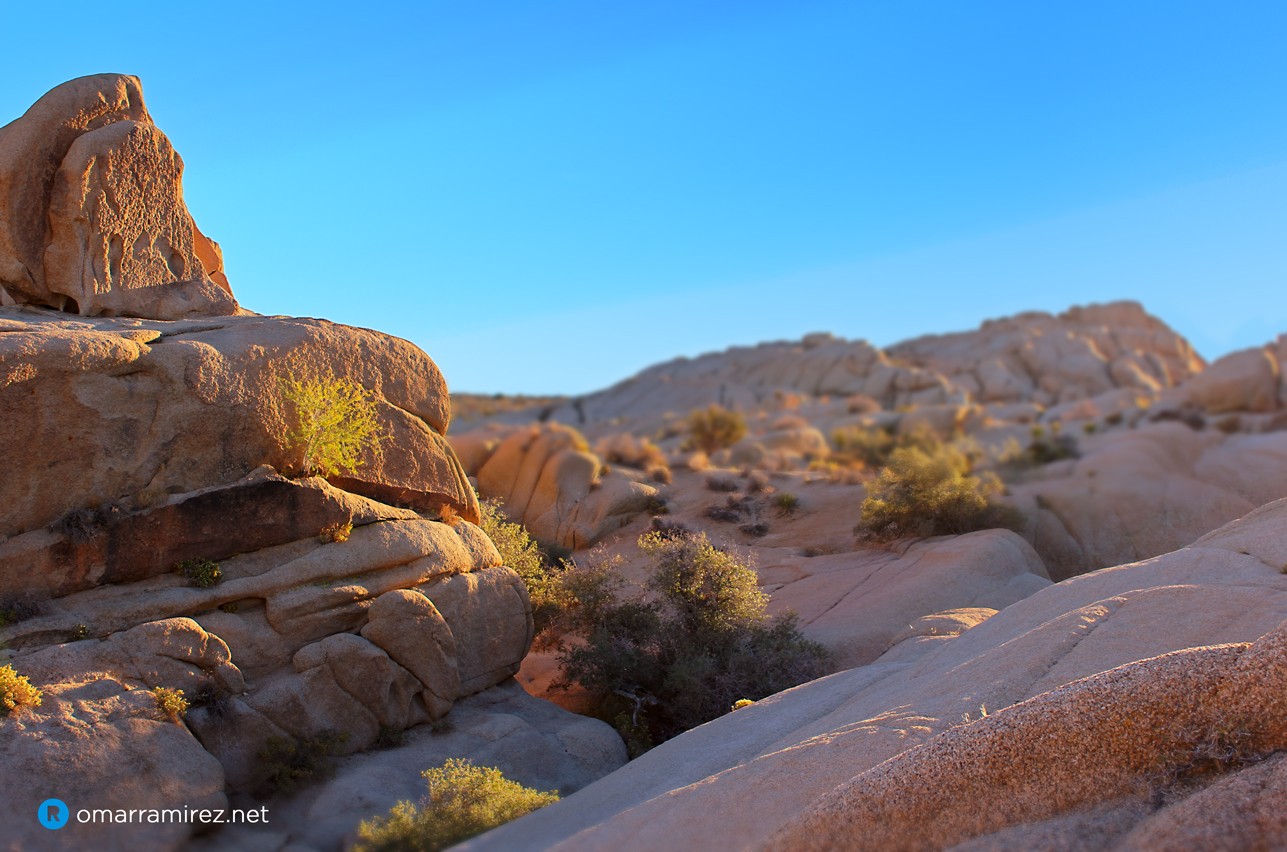
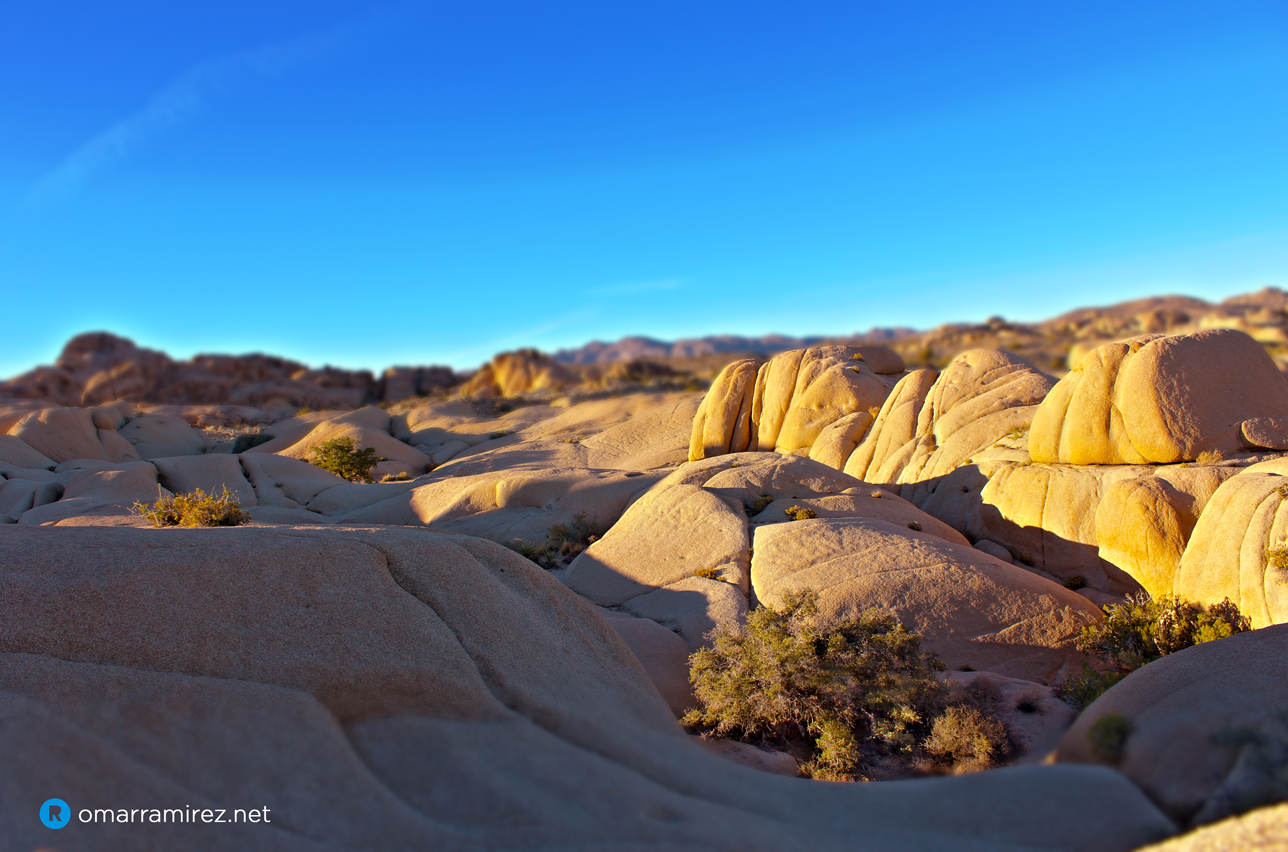
I recently posted a video I put together of footage from my recent trip to Joshua Tree, but I hadn’t done anything with the few photos I shot that day – until now. During the trip, I captured a couple shots at four different exposures to test out Magic Lantern’s expanded bracketing options (which allow up to 6 automated bracketed shots, versus the limit of 3 of the default 60D firmware), to later combine into HDR (High-Dynamic Range) photos, via Photoshop. I took it easy on the HDR effect, since it can easily get over the top, and cartoony. I just wanted clear, natural-looking pictures. Here are a few examples:


Videography – Camera Rig Test: Joshua Tree

Last weekend I went on an impromptu hiking trip to Joshua Tree National Park, and decided to take my Canon 60D, and cheap homemade rig (see previous post) with me, for some videography testing. I put this short edit together from the footage.

It was all really a rushed job, since the hike itself was the main goal of the day. I shot clips at random points, with no real end-game in mind, but the test proved to me that $10 can go a long way. Without it, even simple pans were harder to keep steady, without the use of a more cumbersome tripod – the DIY rig, meanwhile, was easy to dissemble and throw in my backpack. Previously walking movements would be too jumpy to even smooth out effectively with software image stabilization (which I have also applied here on a few shots).

Canon 60D Hacks: Low-cost DIY Camera Rig & Magic latern

I have been experimenting with videography more lately, using my Canon 60D, which offers a good image sensor and set of features for video, including a pop-out swivel screen. But the bottom line is DSLR bodies are designed for photography first, and are not optimally shaped for shooting stable video. Searching online, you can find several products designed to help compensate for this, including all kinds of rigs and both official and faux Steadicam™ setups. These range in price, and can get very expensive, up to several times the cost of my camera. I started looking for simple, cheaper solutions.

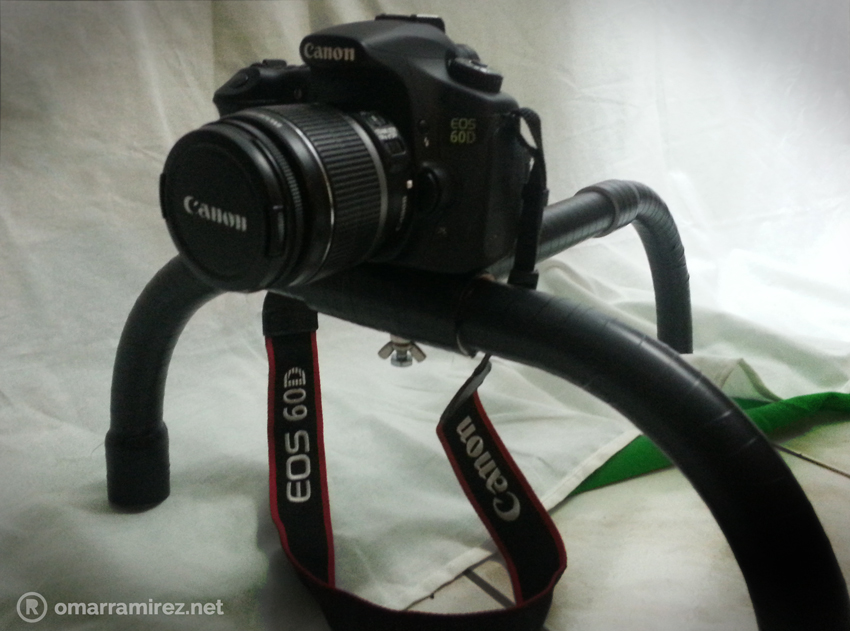
At this point I remembered stumbling upon a tutorial for a cheap shoulder rig on YouTube. Searching for it, I found a ton of similar videos offering different variations on the theme. I decided to go with the simplest and perhaps lowest cost one I found. You can find it here, and see the resulting rig above. True to its claim, it only cost about $10 in parts, and took less than an hour to build. Though I’m sure it doesn’t work nearly as well as a $10,000 setup, for the cost, it works pretty well, and is definitely an improvement over just going handheld.

Another simple hack I found involved the camera itself. Leave it to hackers to find a way to expand the functionality of the 60D and other DSLRs. If you’re up for a little hacking yourself, and have a Canon DSLR, I suggest you look into Magic Lantern. Depending on your model, it can unlock some features otherwise only available on much more expensive cameras. And fear not, you don’t have to risk bricking your camera. It can run off your SD card, without the need to meddle with the system’s firmware.
Motion Tracking and Particle Generator Test

The motion tests continue with more footage from the same shoot as my earlier fireball test. My laptop recently died on me, but luckily I was able to salvage the files. Thanks to Cesar Vargas again for his acting skills, he got totally into it. This is a rough cut of a motion tracking and particle generator test (using Trapcode Particular). I haven’t even gotten to rough sound effects yet. I used the built-in tracker in After Effects, but I had to do a fair amount of hand correction/roto to get it to work right. The crossing of arms didn’t exactly help. Look closely and you’ll notice I have masked out the intersections to create a slightly more convincing fiery hand effect. I know, you thought he really had superpowers.

Hadouken! Fireball Test

Just a basic VFX test shot, set up as simply as possible (stationary, on a tripod). My main priority here, and in most video/motion tests you may see throughout my blog, is practicing techniques and tools to achieve effects I find cool. But I do need to get around to practicing some storytelling at some point. My subject for this was my friend and fellow designer from my UCLA Design/Media Art days, Cesar Vargas.

Here I used Trapcode Form to create the main fireball, and combined it with some other canned effects (glows, blurs, and animated masks/solids, inside of After Effects), to create a Street Fighter 2/comic book inspired fiery orb that Cesar grows and throws (yes cheesy rhyme intended). I shot the video with my Canon 60D in the Downtown LA area.