Posts

I Was Featured in Instagram’s Surreal Graphics Collection!

Capture-InstagramFeature-gather

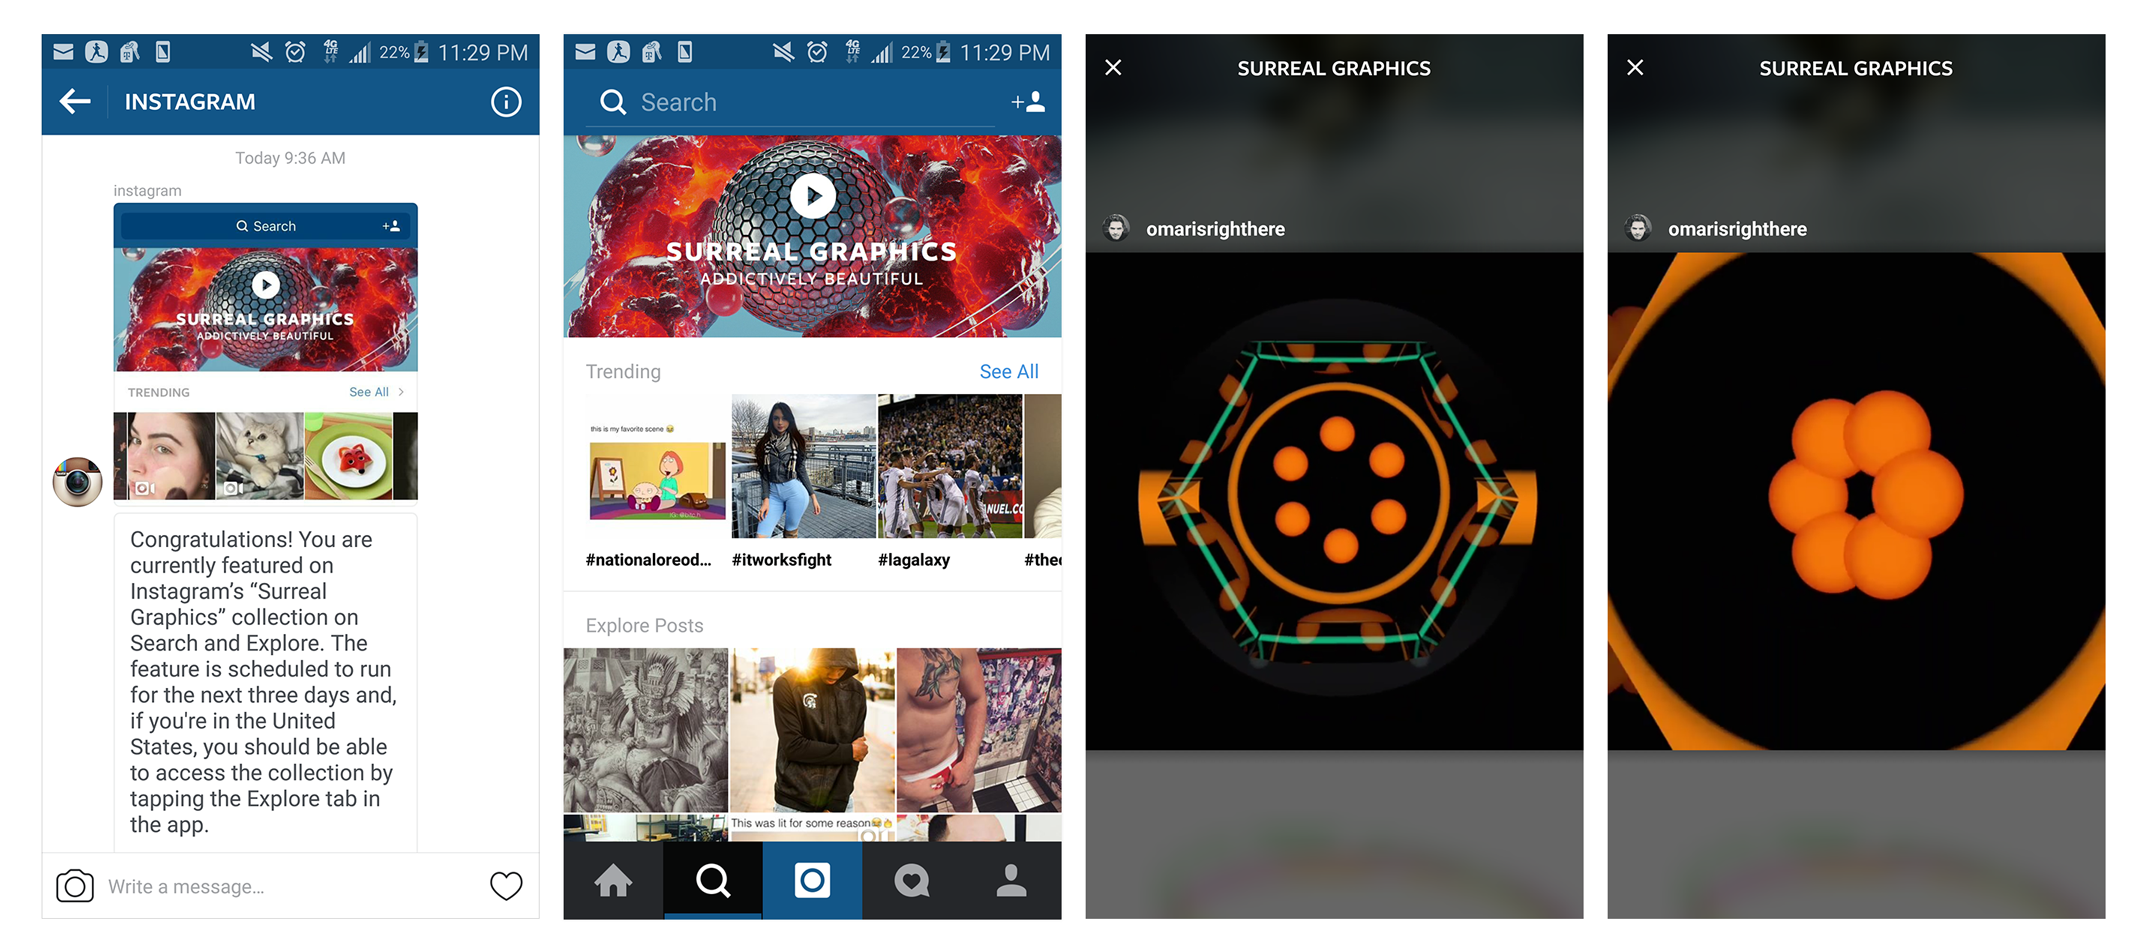
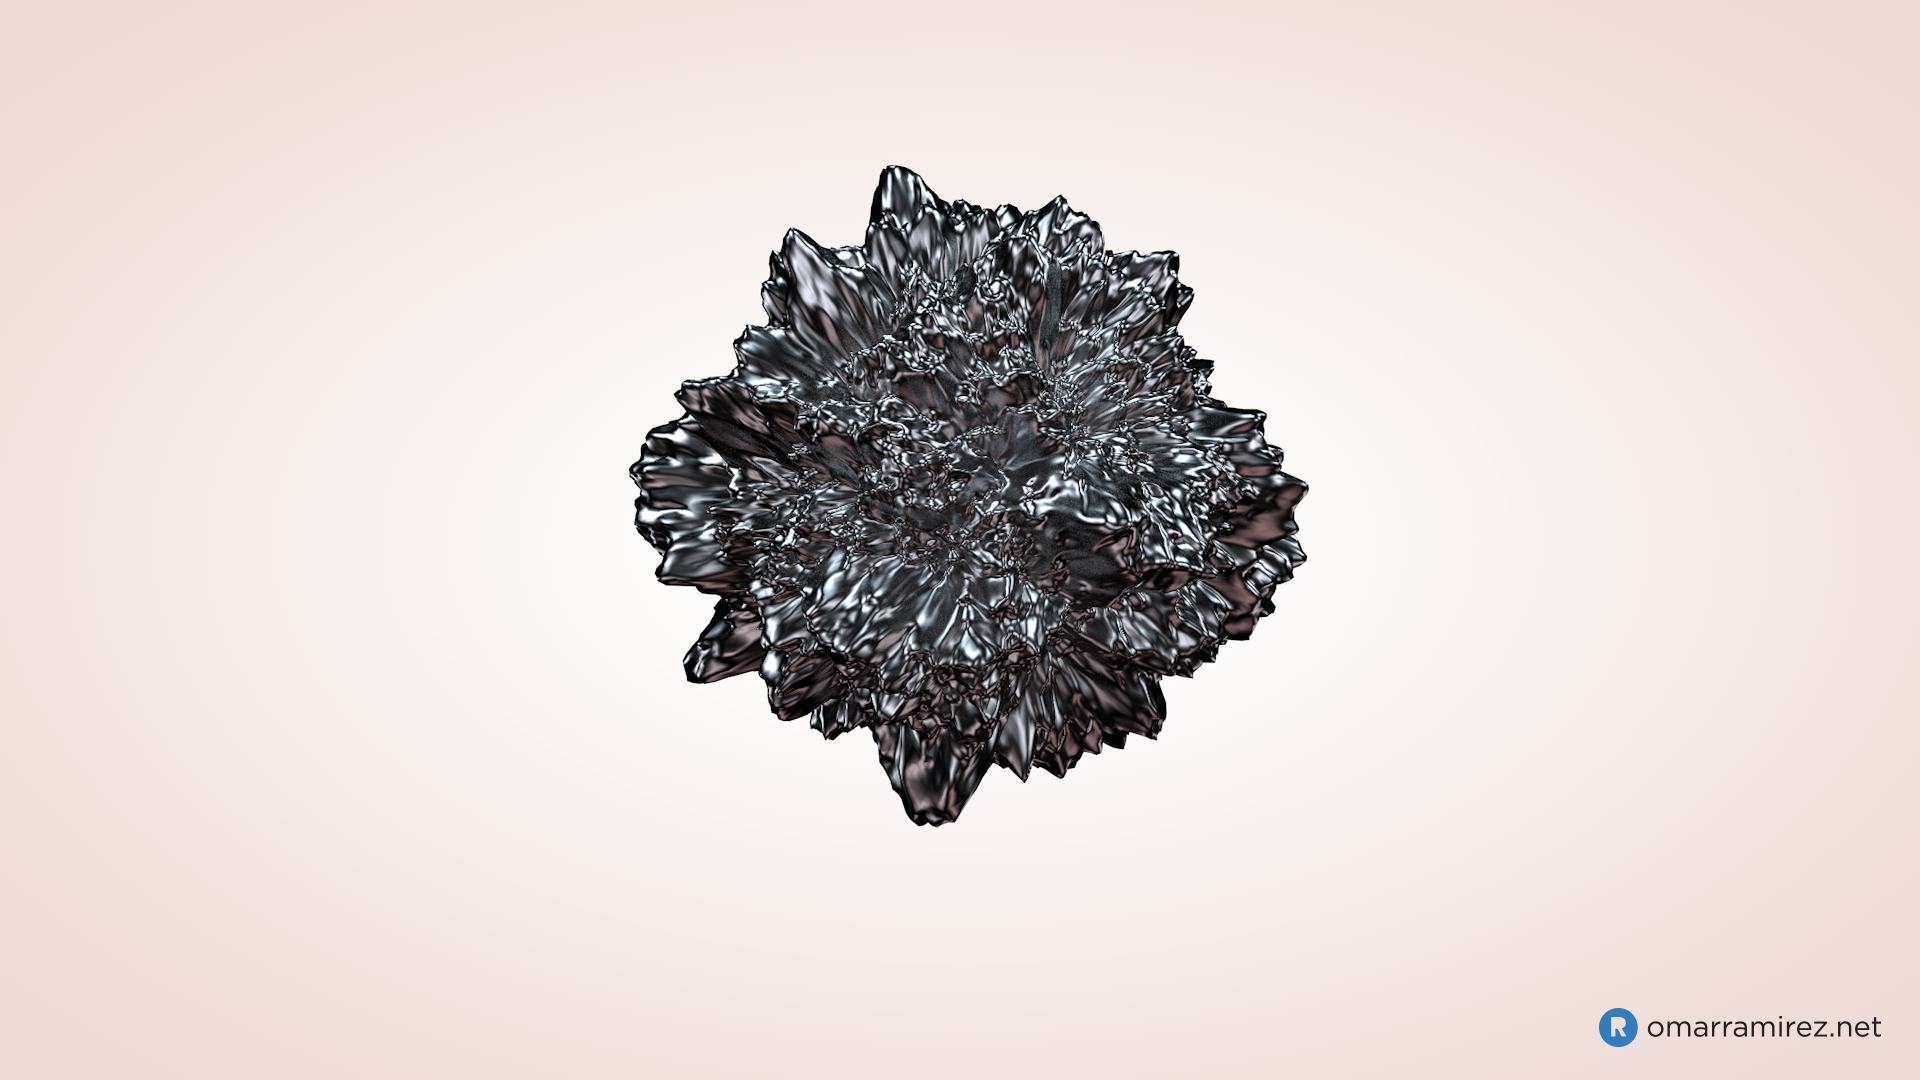
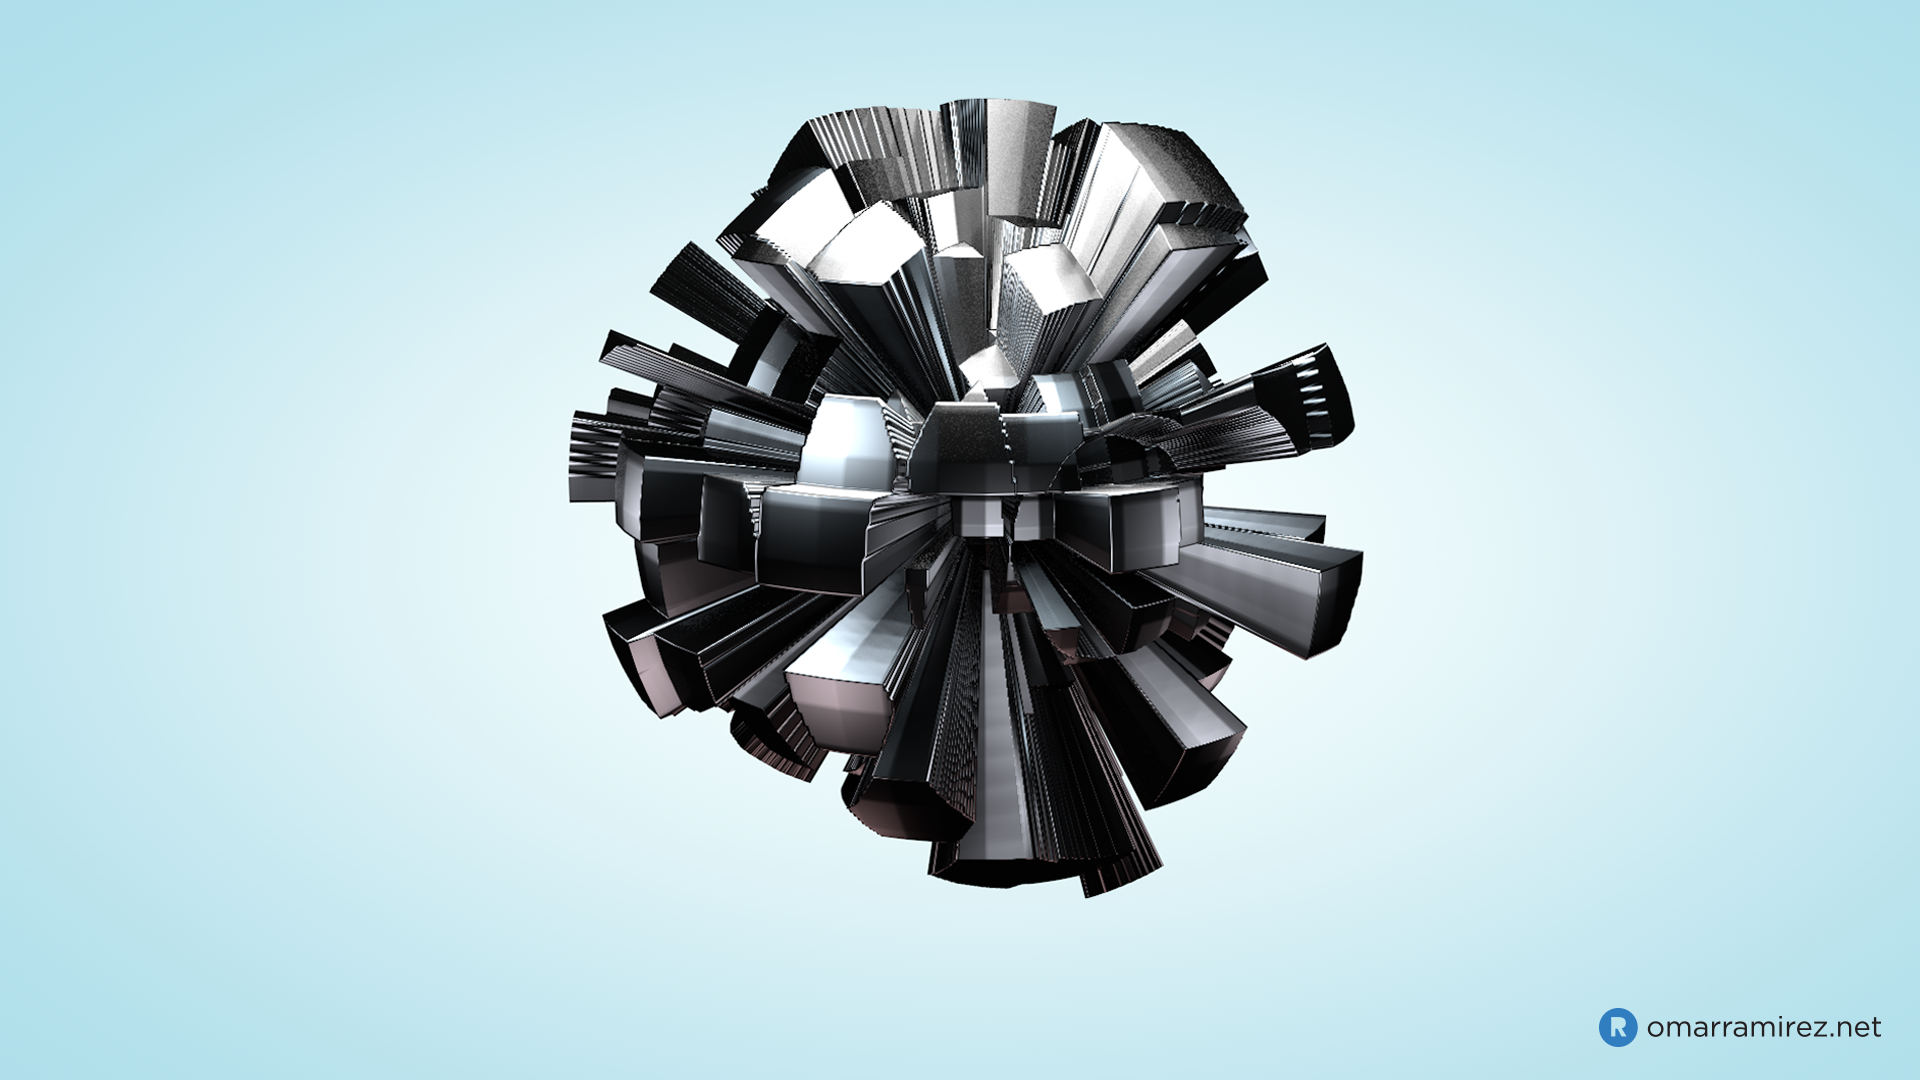
I’ve taken to posting 3D exercises (built in Cinema 4D) to Instagram fairly often more recently, and yesterday morning I noticed a posting from about 2 weeks ago was getting an unusual amount of views and likes. Looking at my private inbox, I noticed I had received a message from Instagram notifying me this specific post had been selected as an item to be featured in a “Surreal Graphics” collection, promoted in the explore section of Instagram. This was a cool and unexpected honor that explained it all! The collection should be featured for another day or so, and the post in question is already on its way to reaching 3000 views (to contrast with my other postings, which had topped out at around 100 views). My main goal in posting these exercises was to keep myself on the ball of practicing new techniques, and keeping myself from getting rusty in 3D, while possibly get some feedback from the pro 3D design community on Instagram in the process, which has already happened. With the traffic this post is getting, I can say I have been able to reach a far greater audience than I ever imagined. I’ll take it as encouragement to continue pushing myself to practice, learn new techniques, and create better original animations and graphics.

Sub Polygon Displacement

SubpolyDisplace_1


The above animation is an early sample result of my toying with sub polygon displacement in Cinema 4D. For anyone interested in learning how to get started, a great intro tutorial can be found via Greyscalegorilla. Sub polygon displacement is a simple yet highly flexible tool that can be used to quickly build some very complex forms, both geometric and organic. And as you see from the gif above, it is all animatable. Here are some other examples of what I was able to quickly create:

Subpoly_01 Subpoly_02 Subpoly_03


Retro Animation/Walk Cycle Test

For no particular reason, I set out to practice making a walk cycle in After Effects a while back. I didn’t have any character to start with, so I threw together the retro looking farmer character you see here. He actually started off in an early sketch as an even more heavily stylized, ambiguous humanoid, but quickly evolved when I got into Illustrator. Once I had the character in place, I decided to take the whole thing further, and build the walk cycle in the context of a old-school animation. To achieve that, I brought in a film preroll (which, if you look closely, you may notice includes flashes of my website logo), film grain and scratches, film reel sound effects, and throwback, Ren and Stimpy inspired, music. I mixed eras up a bit with some 3D elements (which I built and rendered out in Cinema 4D), though rendered in a low polygon style, to make them fit with the 2D look of the central character.

RealFlow and Cinema 4D – Fluid Dynamics Simulation

I’ve been curious to try out fluid dynamics simulations in a 3D package for a while now. The image above is my first test using RealFlow together with Cinema 4D. It’s a very powerful tool, but also one that is very demanding on hardware. RealFlow works as a standalone program, but I started inside of C4D, to create my name as a 3d object, which I imported to RealFlow to serve as my “container,” so to speak.

I’d like to show you the full animation, but with Global Illumination and Ambient Occlusion on (for the uninitiated, basically settings that help renders look richer, and more realistic), outputting this single frame on my laptop (never the ideal setup for 3D) took long enough. I likely would have had better luck with my trusty old Mac Pro tower, but really, this served as a reminder that it’s probably a good time for an upgrade! Long render times have never stopped me from trying things in the past though, so even if I have to leave my system running over night, I plan to explore this tool further.

Here is another pass of the same simulation, textured more to resemble clear, natural H2O:

Fun with 3D: Retro-Futuristic Space Capsule

After my last posting (see “One Eyed Monster”), I felt the urge to continue working in 3D space with the scifi theme, but with something more directly retro-futuristic in styling and content. This was the result. I again based my model off an original sketch, but I was inspired by images of old-school tin toys, which I found in a book appropriately titled Robots and Spaceships. The book compiles several examples of US and Japanese space/scifi themed toys from the 1950’s and 1960’s. I combined that with a more contemporary and minimalist aesthetic, like a mashup with a Marc Newson or a Philippe Starck design. Once I had finished it, I couldn’t help but be reminded of a certain pill shaped speaker/ipod dock design, but this, again, was completely unintentional. Trust me, I wouldn’t want to bring upon the wrath of Dr. Dre, since he made it abundantly clear in “Forgot About Dre” that he’s held on to his weaponry from his gangster days in Compton. Word.

Fun with 3D: One Eyed Monster

I’m still not really sure what this is supposed to be – a robot, or some type of alien life-form. Maybe both? It started as a quick doodle that I decided to bring into Cinema 4D, just for kicks. I initially had something more robotic/mechanical in mind, but as I started to build it, I began to veer more towards a more organic form. Hmmm… adding a mouth would probably make sense now, no? But really, who knows how the hell life on another planet functions or looks? I’ll stick to that story for now. Either way, making this has got me wanting to build something retro-scifi inspired. I’m thinking ray-guns.

PS – Any similarities to Mike Wazowski are purely coincidental.

Low Poly Testing – Sombrero Scene

I’ve continued my explorations into “Low Poly” modeling and rendering, and above is one of my sample renders. True to my Mexican roots, I started this scene with a sombrero, and ended up rounding it out with a maguey (agave plant) and a nondescript bottle that we’ll just say is tequila. Personally, I’ve become a fan of the style, and the abstractions and the overall minimalist aesthetic it introduces. Plus, I won’t lie, objects are just way easier to build when you’re not worried about realism or any type of strict precision. However, I’m finding the simplicity of the forms ends up placing more weight on proper lighting, which is an interesting challenge in itself.

More explorations into low poly 3D likely coming soon.

Low Poly 3D – Testing

I had been meaning to do this for a while, but I finally recently dove into trying out a “Low-Poly” style in Cinema 4D. All that essentially means is reducing objects to stylized and simplified forms, composed entirely of flat sides. It turned out to be very simple to achieve. I plan to use it in a few projects soon, but for now, I’ll leave you with this animated GIF of one of my early tests with a low poly object and a deformer: